Wednesday, July 16, 2014

Sushi Sweater!

Here's a project  finished a little while ago but just now got around to photographing. I had this Webster Miami for Target cardigan I really liked, but there were some problems. It was missing three or four buttons and there was a bit of a coffee stain on it. It was also pretty dingy, although I think the pictures were all taken after I washed it with this whitening powder stuff, that, it turns out, works.

Missing Buttons

Coffee Stain

I wanted to replace the buttons with something a little more fun and do some coordinating embroidery to hide the stain. I found these buttons on Etsy:
I tried to get a closer picture, but they all ended up blurry

I used the Sublime Stitching Sushi Bar patterns and the same transfer method I describe in this post to get the patterns on the sweater, then stitched it up!

The salmon on the left is done using Sublime Stitching Floss in In Bloom for the salmon and DMC 3051 for the seaweed and using a split stitch. The tuna in the middle uses DMC 602 and is worked in stem stitch. The shrimp on the right uses DMC 3326 and is done in backstitch, so there's a bit of a sampler aspect going on there.

There is one slight imperfection, which I may or may not fix. The original sweater had eight buttons; this one only has six. So I may go back and change the buttonholes, but I don't usually wear cardigans buttoned up so I'm going to leave it as is for now.

Mommy, when will you make something for me?

Wednesday, July 9, 2014

Sleeper Cell

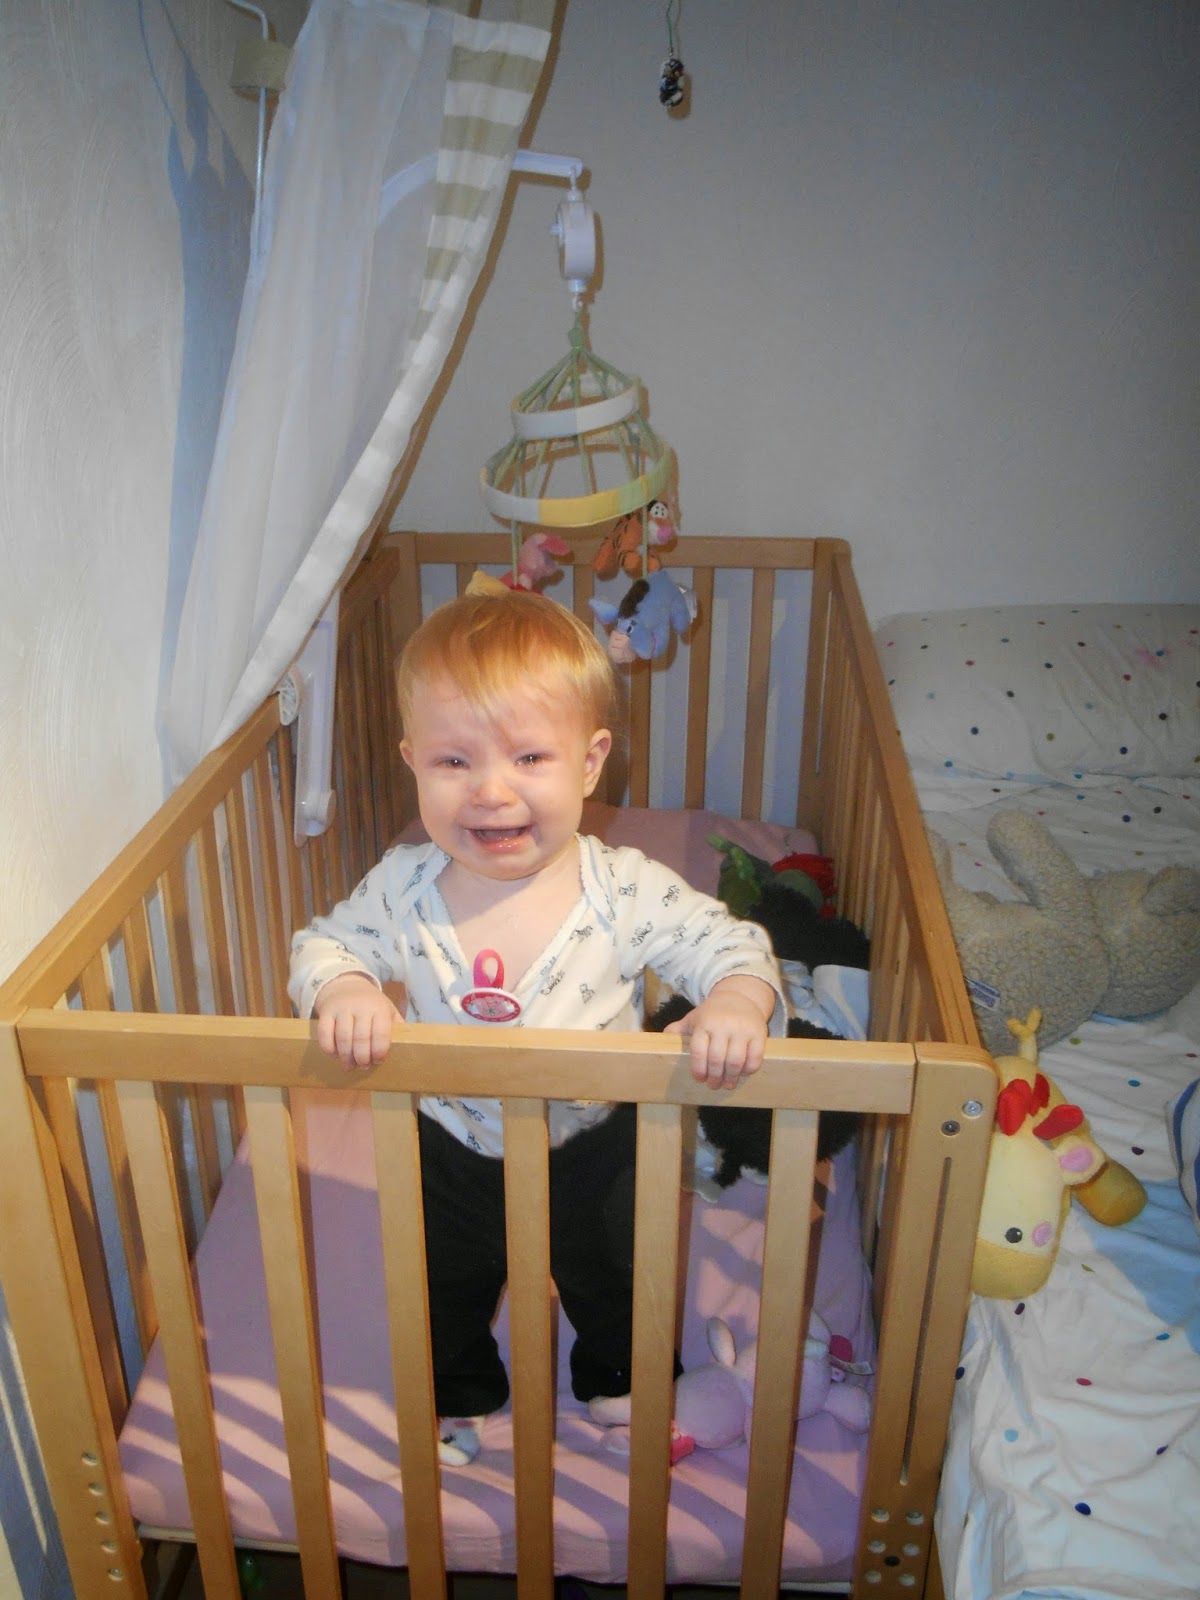
This post is so titled because I think if Sadie could put into words how she feels about her crib (which she is getting closer to doing every day!) those are the ones she would use.


I blogged a while back about the situation we were having with Sadie sleeping. She's been sleeping in the bed with us since then, and it mostly wasn't a big deal. We would all watch TV together at night and she would usually be pretty calm, and eventually fall asleep, usually with me holding her. However, now that she crawls and is more active, this is a bit harder. She never wants to lie down and crawls all over us. Plus, we go to bed at like midnight. So we were thinking we needed to get her into a bit more of a schedule, and that she needed to learn how to fall asleep by herself as well. About a week and a half ago, we bit the bullet and decided to more or less let her cry it out, just to see if she would fall asleep. After 30 minutes of pretty intense screaming, I went in to check on her and fed her. Hunter and I were really conflicted. We hated hearing her cry, thinking we had abandoned her or something. But everything I had read said that the first few nights, you will have to put up with them crying as they learn to fall asleep themselves, so we decided to give it another try, and said that if she was screaming like that for another 30 minutes we would go back in. Well, she fell asleep!

The next couple of nights she did the same thing: cried for 30 minutes, then I went in and fed her, then she fell asleep. And then... She didn't need me to come back in. The past few nights, she has fallen asleep within minutes. Now, she still doesn't sleep all night in the crib. When we come in to go to bed, she generally wakes up, and I just put her in the bed with us. Baby steps. Sometimes when I go in really quietly she doesn't wake up right away, so I think that bodes well.


Get me out of here!

Dose eyes tho

Don't worry, it's empty

Thursday, July 3, 2014

The Owls Are Not What They Seem

Just a quick post to show off a project I finished recently. I got this Twin Peaks pattern off of Etsy and made a wall-hanging out of it. I had to order the aida fabric online, but I used floss from my stash. For this reason, I made a few substitutions.

I substituted Sublime Stitching's Blue Fondant for DMC 519, Sublime Stitching's Silky Cocoa for DMC 433, and  DMC 435 for DMC 434. Because the colors on the logs were a little bit too similar on account of the substitutions, I also added some backstitching to give a little more clarity there. Here is a picture of the framed final product hanging on my wall:


I framed it using this tutorial I found. It was pretty easy, and I got the frame for only one euro because it didn't have glass in it. That didn't bother me, because I read that cross-stitches usually are framed without glass.

This project really didn't take very long, and would have been even quicker if I hadn't had to start over shortly after starting because I had miscalculated the center of the fabric. As I worked on it, I posted progress pics on Instagram; here is a little collage of said pics with the finished item in the center:


I've actually already finished another quick project, so hopefully I'll be able to post about that one in a day or two!